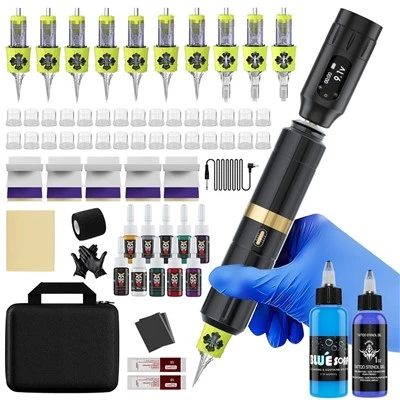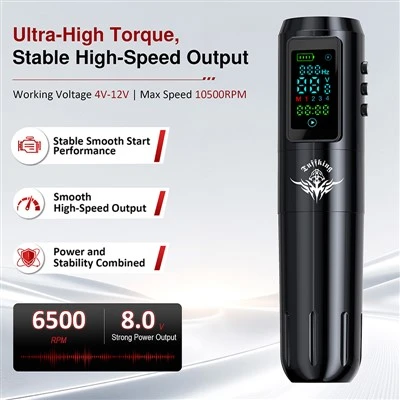
Tattoo machine adjustment method:
1. Connect the 220V (110V) current to the transformer, turn on the POWER switch (1 means on, 0 means off), the indicator light is red, adjust the button VOLTAGF, turn slowly clockwise, and the V meter will also turn slowly The A meter will only move when the tattoo machine is working), adjust the V meter pointer to 10V-12V (note: the voltage is too high, the output power is large, the rotation speed is too fast, and the electrical contacts are worn out quickly) Then the tattoo machine Insert the plug of the power supply into the "+ (positive),-(negative)" pole, and then plug the foot switch into another power supply hole.
2. Plug the other end of the power cord into the socket of the tattoo machine, and then step on the foot switch to start the tattoo machine. The power light is red, the V meter is 10V-12V, but the tattoo machine fails to start (A. The shrapnel contact may not be in place; B. The tattoo machine line may be disconnected). If it is A, you need to re-adjust the tattoo machine: First move away from the shrapnel contact, and then slowly turn the elastic rod clockwise to the shrapnel contact, and at the same time activate the foot switch to make the tattoo machine just start, then release the foot switch and turn the elastic rod clockwise 180 ° -360 ° tighten the screws to lock the spring bar. (The transformer has overload protection. When the indicator light is green, the voltage is zero, indicating that there is a short circuit, and the transformer automatically trips. At this time, turn on the POWER switch and then re-l, you will get a new power supply and the voltmeter will return to normal). If it is B, repair or return to the supplier for processing.