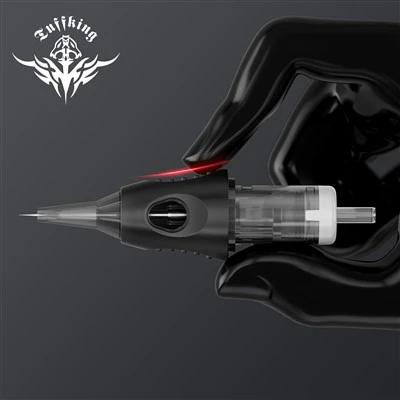
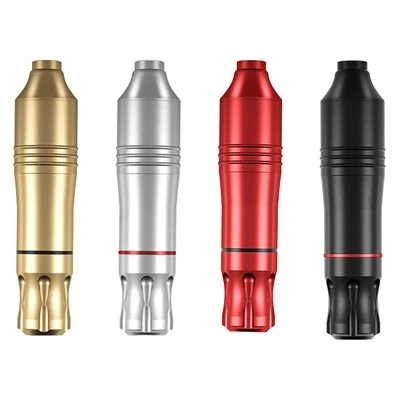
If the handle link of the tattoo machine is stuck tightly at the lock of the frame, the narrow gap will be widened. Install the coil on the base of the frame and check whether the center of the coil steel core, the center of the connecting rod, and the center of the hook wire are in a straight line. If one or both of them are slightly off-center, try loosening the screw and insert a thin copper sheet on the lower side under the steel core, tighten the screw, and see how it goes. Maybe you have to change the sheet several times to make it in the same straight line.
When the coil is installed on the frame, add a spring washer to the screw of the machine, which can ensure that the screw locks the coil firmly and prevents the coil from shaking.
If you like, you can make the coil yourself. It can be made with insulated enameled wire and a hand coil winder, but this kind of hand-made coil may be very rough. The reason is that when the coil is wound by hand, the enameled wire will become longer due to the tension, which will cause the diameter of the enameled wire to change, so the wound coil will not be accurate.
Once the machine is in its best condition, no further correction is needed. The more it runs and the older it becomes, the better its performance. This is called running-in.
When the machine is running, the contact point between the top wire and the shrapnel will continue to flashover (that is, an arc is generated). File the worn parts on the top wire to smooth it and reduce a part of the arc. The tattoo machine will avoid flashover. If you install the capacitor yourself, generally use a 25 volt capacitor. This is not absolute, you can experiment with different capacitors.