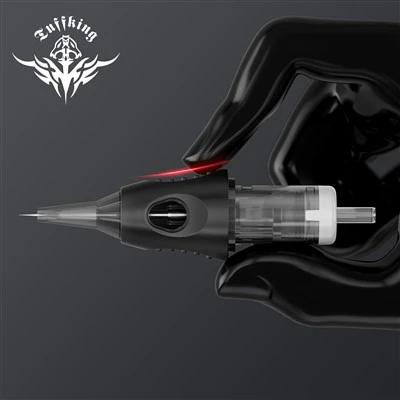
Hold the handle of the tattoo machine on the bottom shelf and carefully insert the three good needles into the hollow metal tube. The tip of the needle touches the bottom of the plastic shelf with the blunt end facing up. Make sure that all the needle tips touch the plastic products on the shelf. Glue them together with small pieces of solder. When soldering the needles, the key is to use a little solder, which will keep the needles accurate, and then remove them from the "sticky". After that, the tips of these needles are "tightened". You will need a needle clamp for this and next steps. This is a very useful device. This clamp is a tool for tightening the tip of the secant needle. There are multiple holes in this fixture. The diameter of these holes is just to tighten the needle tip, and you will use holes specifically designed for the size of three needles. Carefully insert the tip of the three-needle set "sticky" into one of the holes, so that the tip of the three-needle will be compressed to a point. To insert 1/4 inch, leave the rest of the needle outside of the hole. The outer part will be the welded part.
The dosage of the flux should be just right, don't use too much flux, and don't use very little flux. Soldering at 1/4 inch from the tip of the needle, there will be a beautiful, tight three-needle set. The profile of the three needles should be a triangle, with two needles at the bottom, and the other between them and their upper part. No matter how you rotate, you will get this result.
This is a made three-needle set. Now put this group of needles on the needle bar used for drawing lines to form a three-needle secant needle bar. Hold the metal needle clamp and clamp the top of the three needles. Don't press hard, just clamp it. Then use a secant needle bar to weld this group of needles. After the welding is completed, check whether the needle tip is in good condition. For further disinfection and use, store it carefully.
The basic process of making a five-needle secant needle is the same as making a three-needle. When gluing them together, you will use a five-needle jig, and you will use the No. 5 hole for tip reduction. The exception is the way the five needles are put together. There is a needle in the middle of this group. Put them together with your fingers and place them in the correct position of the five-needle fixture before sticking. The production of a single needle is very similar to the production of a three needle, with only a slight difference. Only one good needle and two polished bad needles are used to support the good and fragile single needle. When placing them in the fixture, arrange them in a row on the rack, like a regular three-pin, and glue them together. When you remove the door, separate them gently in your hand, and cut off 1/4 inch at the end of each broken needle so that the good needle will grow 1 more than the two bad needles. /4 inches.